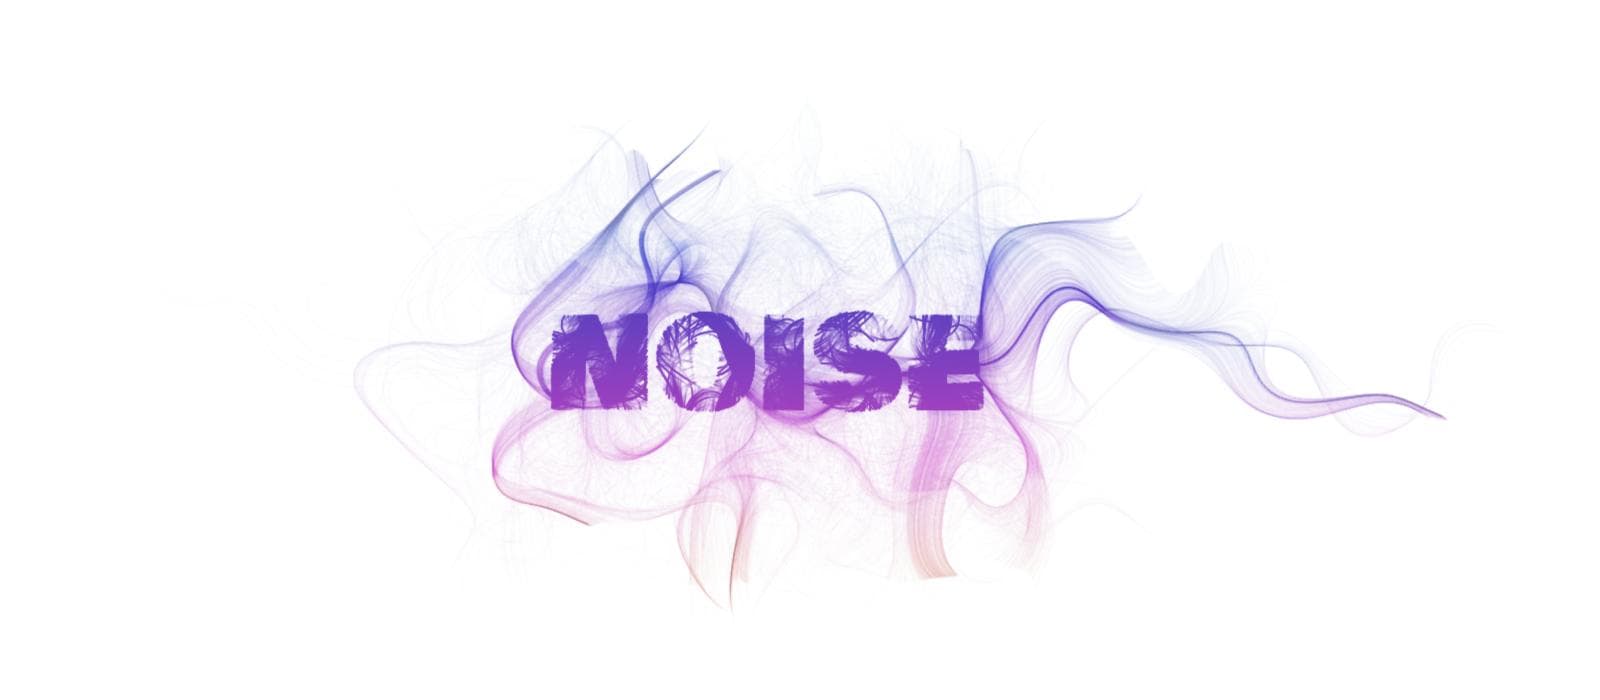
Creative Coding With Perlin Noise
Creative Coding With Perlin Noise
By Pim van Die
6 min read
Have fun with creative coding. Discover how Perlin noise adds life into your creations, replacing harsh randomness with flowing, natural patterns. Creating particles, flow fields, and terrains that feel organic and alive.
- Authors

- Name
- Pim van Die
As a change from our serious work where we need to consider quality, rules, and tools, it can be refreshing to simply create cool visual effects. And maybe learn something new along the way. No constraints. That's where Creative Coding comes in.
In this article, we'll take a look specifically at Perlin Noise. What is it, but most importantly, how can we use it to create nature-like randomness?
The problem with Math.random
Let's say we want to move an object, or a pixel, horizontally across the screen, but add some randomness to it. One can utilize Math.random(), which generates a random number between 0 and 1, and do something like:
const loop = () => {
  const randomY = Math.random();
  particle.y += randomY;
}
But the problem with Math.random() is, *Drum roll...* it's random. So every loop, some random value between 0 to 1 gets added to the position. Check the example, which doesn't look smooth or appealing at all :
Perlin Noise to the rescue
So we want to generate some movement or terrain that looks random, but as we saw Math.random() isn't suitable. Now that is where Perlin Noise comes in.
What is Perlin Noise
Wikipedia writes the following about it:
Perlin noise is a type of gradient noise developed by Ken Perlin in 1983. It has many uses, including but not limited to: procedurally generating terrain, applying pseudo-random changes to a variable [...]
Perlin noise creates smooth, natural-looking randomness by calculating gradual transitions between points rather than jumping between completely random values. Or, more simply: it is a function which returns a not-so-random-random value between 0 and 1 for the given input.
It creates a not so random random value
For the older readers, the following image might look familiar. It was the result of the "Perlin Noise" filter in Photoshop:
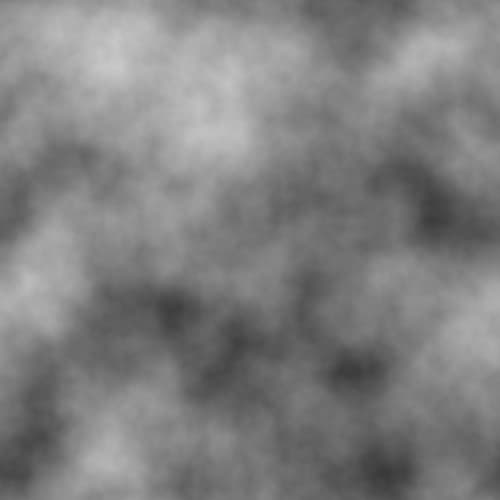
And this image already illustrates perfectly why this technique is so incredibly valuable. In the example image the results of the Perlin Noise function is mapped to a color. Where for each pixel on the canvas, a noise value is calculated based on the x and y position of that pixel. The result then can be used to caculate the opacity for the pixel. The results could have been something like this:
getNoiseValue(0, 0): 0.8getNoiseValue(1, 0): 0.85getNoiseValue(2, 0): 0.87- etc
Now what if we link the value of the outcome to the position of a particle? Or to the height of a terrain? Or brightness of a pixel, the volume of a sound, the length of a line? Endless possibilities.
Fluid Motion
Now let's apply our newly learned trick to our jagged moving pixel. The pseudo code could be something like:
import noise from 'our-chosen-noise-package';

const loop = () => {
  const randomY = noise.perlin2(particle.x, particle.y) * 2;

  particle.y += randomY;
}
And voilà, the result would be something like this. With just a little bit of help from Perlin Noise it already looks way better:
Now we have some kind of basis to work from, we can iterate on it and create some more effects. For starters, let's add a bunch of particles and don't erase the screen on every loop, thus creating a trail. And let's tweak the color and thickness based on the y-position:
Examples: eye candy
Following are some examples of what we could create with the a Noise value.
Joy Division Cover
You may have heard of the album "Unknown Pleasures" by Joy Division. That cover is an excellent inspiration to work from.
The setup could be something like:
- Draw a certain amount of lines from top to bottom
- Divide each line in an certain amount of segments
- For each segment, calculate a noise value
- The closer the segment is to the center, the more we multiply the noise value and subtract it from the y-position.
This example uses a time component to calculate the noise with noise.perlin3(x, y, timeComponent).
Flies: Add randomness
Another trick that can be used, is giving each moving object its own Noise function instance. Thus, each moving object uses its own path. This results in different objects moving around in a natural, random way but still on their own random path.
const flies = new Array(20).fill(0).map(() => ({
  noise: new Noise(),
  x: randomPositionX,
  y: randomPositionY,
}));

const updateFly = (particle) => {
  const noiseValue = particle.noise.noise3D(
    particle.x * 0.01,
    particle.y * 0.01,
    tick, // again, the time component
  );

  velocityX = Math.cos(noiseValue * Math.PI * 2);
  velocityY = Math.sin(noiseValue * Math.PI * 2);

  particle.x += velocityX;
  particle.y += velocityY;
};
When we add a little attraction force to pull them towards the middle where an imaginary lamp is, this could be the result:
Fire sparks
We take the Noise movement as a basis, and on top of that, we add a couple more techniques and principles to create a blazing fire sparks effect.
- Movement: our newly learned trick, sweet!
- Depth: The more in front the spark is, the faster it seems to move. Remember parallax?
- Decay: The spark slowly decays until it disappears.
When you look closely at sparks flying around, it may look like some are flowing around in the same "wind current". To simulate that effect, we can share Noise function instances between sparks.

Flow field
We can imagine our canvas as a grid. In each cell, we calculate the noise value and use that value to calculate the angle, just as in earlier examples. The next step is updating a particle in that particular cell to use that angle for both horizontal and vertical movement. In the fire sparks example, only the y-position was updated. This approach creates an effect called a "flowfield".

Wrapping up
Once you get the hang of working with Perlin Noise, you'll notice how easy it is to generate cool things with it. It can be static or moving. It can be visually 2D or 3D, or apply the outcome to sound. Take a look around and think about what you can make with it. A fur texture, or leaves blowing in the wind? A height map for a game? Your creativity is the only limit.
If you feel like getting creative, I created a commented boilerplate on Codepen to start from. Fork it, break it, change it, but most importantly, enjoy creative coding 🤘