Scratching the web
Scratching the web
By Pim van Die
5 min read
How can we use the Web Audio API to create a working realtime turntable? Read my approach and how you might make your own!

- Authors

- Name
- Pim van Die
Browsers are awesome. The capabilities are almost endless with API's like WebRTC, WebGL, canvas, or the Web Audio API. This article will focus on the latter. Although the Web AUdio API can do a lot, I'm only going to cover the basics. I'll use it to load a track, control the playback speed, reverse it and eventually make a working turntable!
This article will consist of a few parts:
- The record: making it spin and able to drag cq. scratch
- The audio: loading, reversing and controlling the playback speed
- Tying the record to the audio
For the sake of the length of the article, the provided code blocks are simplified and are more like examples than actual implementations. Please refer to the Github repo here for the actual code.
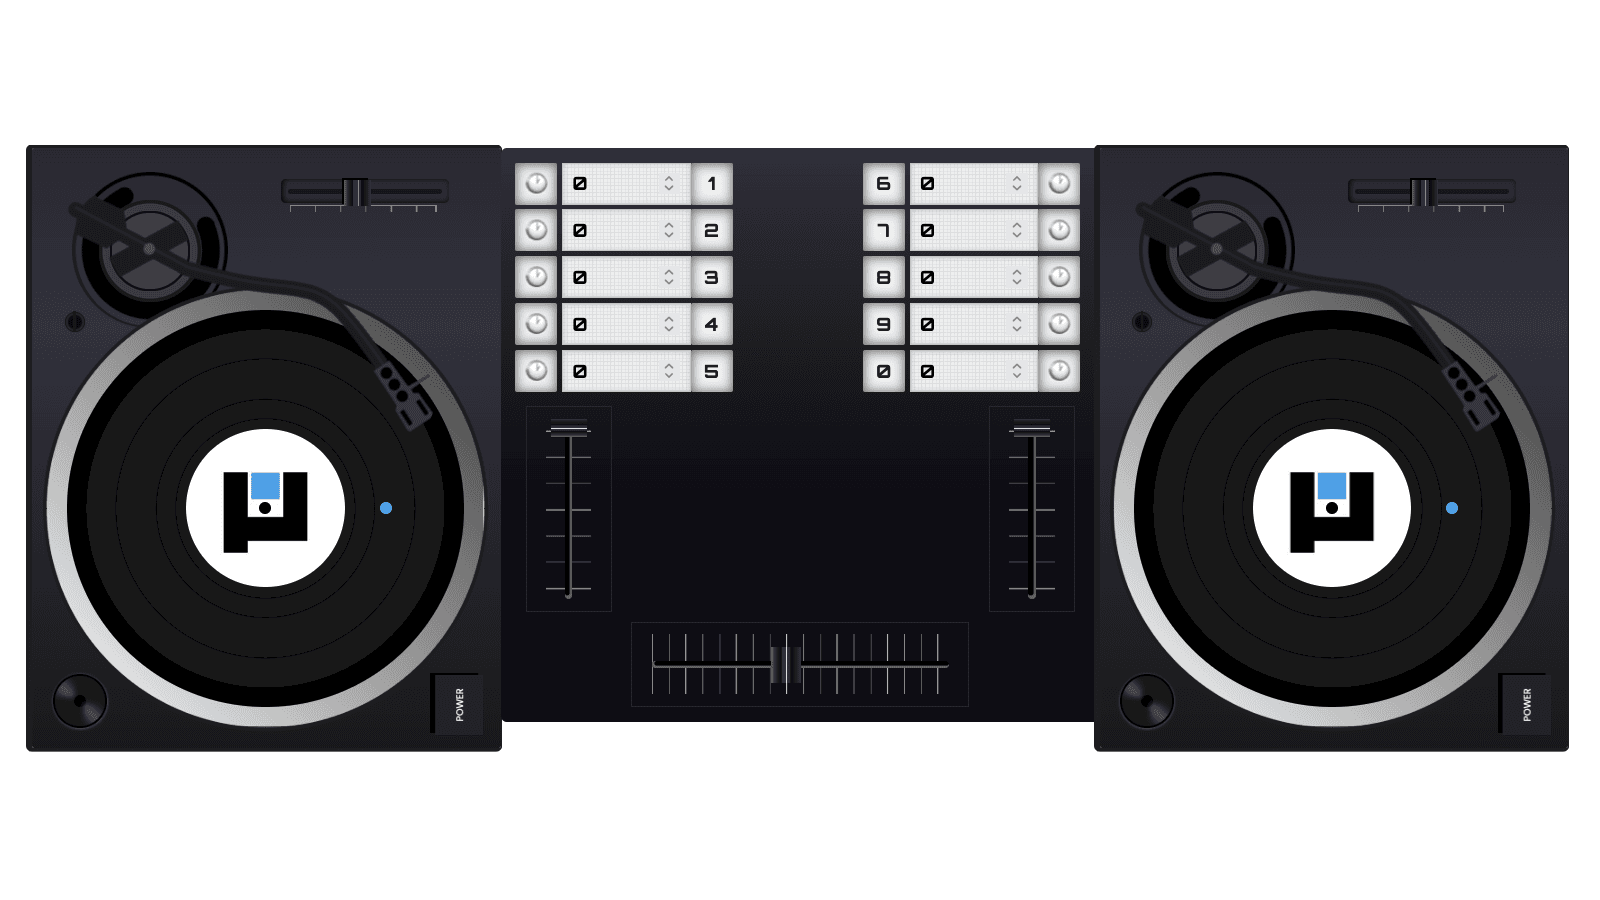
An example of what can be made: The turntable
The record
A real turntable consists of a multitude of elements. Like pitch control, an arm with a needle of course and maybe a strobe light. But for this article I'll focus on the record only.
What should the record do?
So first we need to determine what functionality the record should have. In essence, it comes down to these:
- Rotate: Whether "by hand" or automatically.
- Stop: When it is clicked, it should stop. Simulating a finger pressed on the record.
- Dragging: Simulating the scratching effect, going back and forth.
The Record implementation
To implement the basic functionalities, a few properties need to be defined:
angle: a number which tracks the current rotationisDragging: whether the user is dragging the record (eg. when I'm "scratching")pointerStartPosition: a position (x, y) of the starting drag positioncenter: a x, y position indicating the centre of the UI element
Some functions and listeners:
pointerup,pointerdownandpointermoveto track the dragging/scratching.- A
loopfunction called in arequestAnimationFrameto update the UI.
Within the pointerdown listener I'll indicate that the record should not rotate automatically and set the starting drag position:
 onPointerDown(e: PointerEvent) {
  isDragging = true;

  pointerStartPosition = {
    x: e.clientX,
    y: e.clientY,
  };
}
onPointerUp() {
  isDragging = false;
}
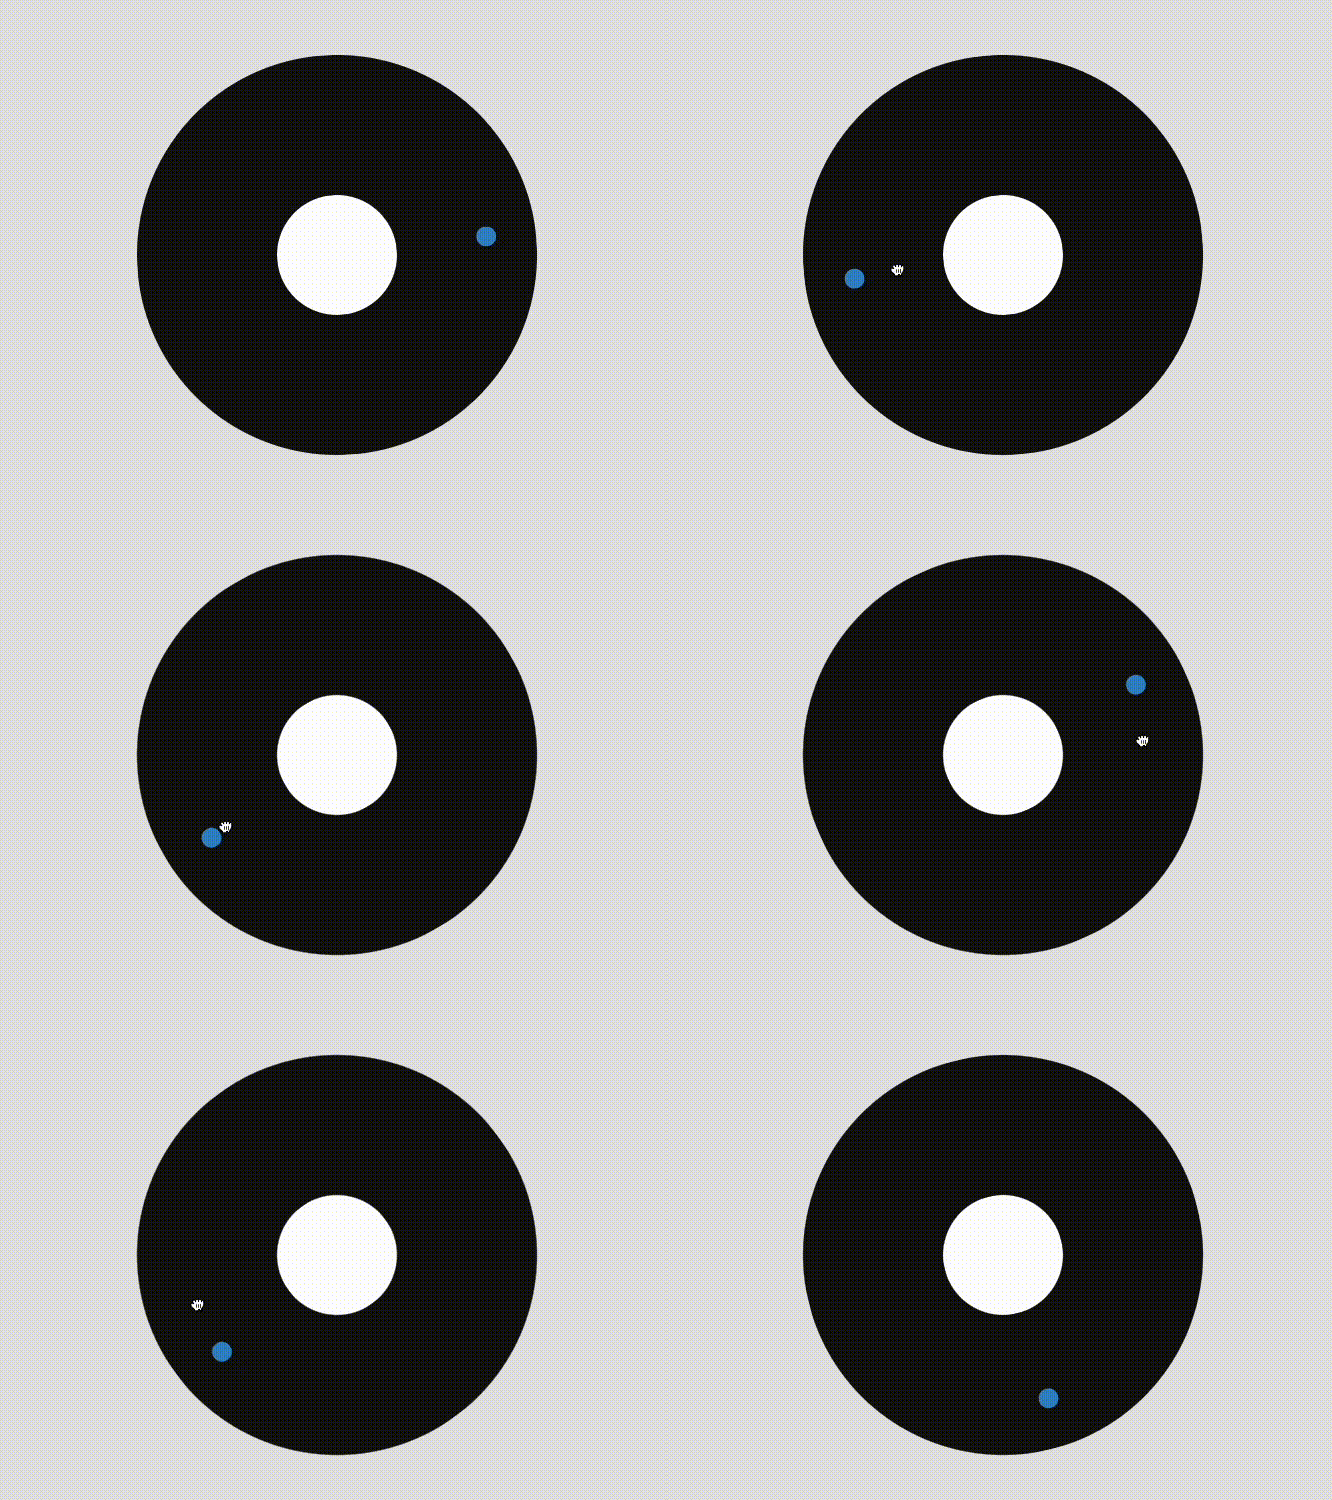
Now a little math is required to determine the angle that was dragged. Take given example image:
The user clicks on spot "A", and moves the pointer towards "B". The center of the record is at "C". The angle between "A" and "C", and "B" and "C" need to be calculated. The difference between "AC" and "BC" is "D", the angle dragged.
The three built-in functions needed for the calculations are Math.atan2, Math.sin, and Math.cos. With those 2 helper functions can be made:
const angleBetween = (vec1: Vector, vec2: Vector) = Math.atan2(vec2.y - vec1.y, vec2.x - vec1.x);
const angleDifference = ({ x, y }: Vector) => Math.atan2(Math.sin(x - y), Math.cos(x - y));

onPointerMove({ x, y }) {
  const B: Vector = { x: clientX, y: clientY };

  // A stored `onPointerDown`
  const AC = angleBetween(center, A);
  const BC = angleBetween(center, B);

  const D = angleDifference({ x: AC, y: BC });

  setAngle(angle - D);
}
Now the only thing needed is a looping function to update the record visual:
loop() {
  if (!isDragging) {
    setAngle(angle + 0.05);
  }

  element.style.transform = `rotate(${angle}rad)`;

  requestAnimationFrame(loop);
}

Determine playback speed
The nitty gritty part: calculating the rotation speed which is also used for the playback speed. The following data is required:
- How many turns does the record make in 1 minute (RPM)?
- How many degrees should it rotate per MS, for a playback speed of 1?
- How many MS did elapse between 2 updates?
- How many degrees did the record actually rotate?
Altering the loop function, it should look something like this:
loop() {
  const currentTimestamp = performance.now();
  const differenceTimestamp = currentTimestamp - previousTimestamp;

  if (!isDragging) {
    autoRotate(differenceTimestamp);
  }

  const differenceRotation = angle - previousAngle;
  const normalRotation = RADIANS_PER_MS * differenceTimestamp;
  const playbackSpeed = differenceRotation / normalRotation;

  element.style.transform = `rotate(${angle}rad)`;

  previousAngle = angle;
  previousTimestamp = currentTimestamp;

  requestAnimationFrame(loop);
}
Note that it calls the new function autoRotate:
autoRotate(msElapsed: number) {
  const rotationSpeed = RADIANS_PER_MS * msElapsed;

  setAngle(angle + rotationSpeed);
}
So far the record can spin on its own, it can be dragged and the playback speed is calculated. Time to look at the audio.
The Audio
Loading the audio is pretty straightforward using a simple fetch. The response, which will be an ArrayBuffer, is used to create an AudioBuffer. Once that is created, an AudioBufferSourceNode can be made which will be the actual sound source that can be controlled.
const context = new AudioContext()

const response = await fetch(url)
const buffer = await response.arrayBuffer()
const audioBuffer = await context.decodeAudioData(buffer)

const source = new AudioBufferSourceNode(context)

source.buffer = audioBuffer
source.connect(context.destination)
source.start()
Setting the playback speed
Setting the playback speed is pretty easy. An AudioBufferSourceNode as a playbackRate property to control the speed:
// ✅ play at double the speed
source.playbackRate.value = 2;
But the value has to be positive. So to play a track in reverse isn't as simple as:
// ❌ won't work
source.playbackRate.value = -2;
Reversing the audio
An audioBuffer has "channel data" which is a collection of "PCM data". Not interesting for now, but what is interesting, is the fact it is of type Float32Array:
const channelData: Float32Array = audioBuffer.getChannelData(0)
And this is where the trick comes in. Like any array, a Float32Array can be reversed. And a new AudioBuffer can be created with a given ChannelData:
// copy and reverse
const channelDataReversed = channelData.slice(0).reverse();

// create new audioBuffer with new channelData
const audioBuffer = new AudioBuffer(...)
audioBufferReversed.getChannelData(0).set(channelDataReversed);
Is it worth it? Let me work it I put my thang down, flip it and reverse it Ti esrever dna ti pilf nwod gnaht ym tup i - Missy Elliot
So when two audio buffers are available, they can easily be switched depending on the playback speed. For example:
const buffer = isReversed
  ? audioBufferReversed
  : audioBuffer;

const cueTime = isReversed
  ? soundDuration - timePlayed
  : timePlayed;

audioSource = new AudioBufferSourceNode(audioContext);
audioSource.buffer = buffer;
audioSource.start(0, cueTime);
Tying the record to the audio
One way to structure the project is as follows:
- App
- Record
- Audio
Where "Record" contains all the functionality from part 1, "Audio" all the functionality from part 2, and "App" orchestrates the working.
An easy implementation is when "Record" updates (the "loop" function), it calls a callback function in "App". "App" uses the payload from the callback to update the "Audio" accordingly. See this diagram:
For example:
loop() {
  this.callbacks.onLoop({ speed, reversed, offset });
}
record.callbacks.onLoop = (updatePayload) => {
  sampler.updateSpeed(updatePayload);
};
updateSpeed({ playbackSpeed, reversed, secondsPlayed }) {
  if (reversed !== isReversed) {
    changeDirection(reversed, secondsPlayed);
  }

  const speedAbsolute = Math.abs(playbackSpeed);

  audioSource.playbackRate.cancelScheduledValues(currentTime);
  audioSource.playbackRate.linearRampToValueAtTime(speedAbsolute, currentTime);
}
And there we have it! A working turntable, all with some good old plain javascript and the Web Audio API. Make sure to check out the final result:
Follow ups
This gives an example on how to create a turntable. But what's cooler than one turntable? Two! The next iteration could be making two turntables and put a mixer in between. Maybe with some extra GainNode?
See you in the next one!