How to improve your video meetings
How to improve your video meetings
By Maarten Van Hoof
9 min read
What’s the next level of video calls? Can I get more quality? Can I gain more production value?

- Authors

- Name
- Maarten Van Hoof
Starting March 2020, due to the worldwide pandemic surging in Europe, most of iO’s operations moved from our campus in Eindhoven to our homes. For a company that relies on intense communication with each other, it meant moving towards a near-remote culture where video calls were the new way of meeting, doing stand-ups sit-downs, small talk around the water cooler, and sharing knowledge, …
As I made the transition to the near-remote culture, my mind started rattling. ‘What’s the next level of video calls? Can I get more quality? Can I gain more production value?’
Short answer: Yes.
In this article, I'll provide you with several options regarding audio setup and video setup, so you can increase the production value of your video call, webinar or live stream.
Audio
Let’s start with the primary source of communication in a call. Sound. A crisp, clear voice allows the people listening to understand you better and will immediately set a professional tone to the conversation.
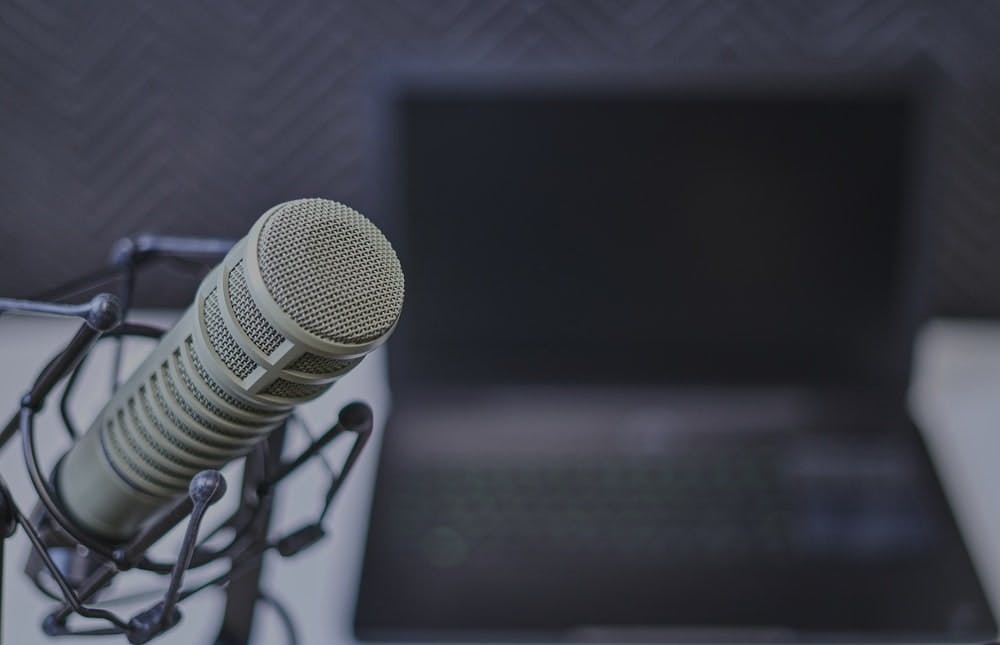
Microphone
It’s most likely that your portable device or working machine contains a built-in microphone by default. It’s also most likely, that the size of this microphone’s transducer’s diameter is smaller than half a centimetre. This is by design, so it can be easily hidden from sight. This small surface area to convert sound to an electrical signal and the distance from your mouth to the microphone usually do not result in smooth, studio-like vocals.
There are several types of microphones from which you can choose, depending on your specific recording situation.
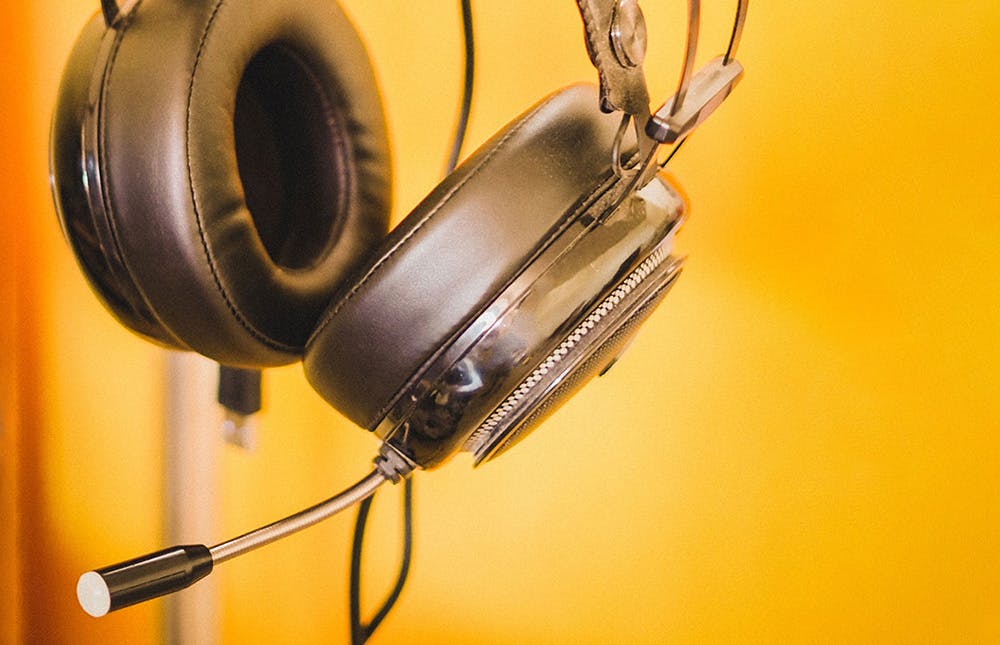
Headset microphone
If you’re a daily user of headphones, why not upgrade to a headset? The external microphone of a headset will be very close to the source of the sound, your mouth and can therefore deliver better results with almost the same hardware as used as built-in laptops. Because the microphone receives a higher volume on input, the input doesn't need to be amplified as much and therefore it will less likely pick up surrounding noise. The Beyerdynamic MMX 300 2. is a great option in this category.
Broadcast microphone
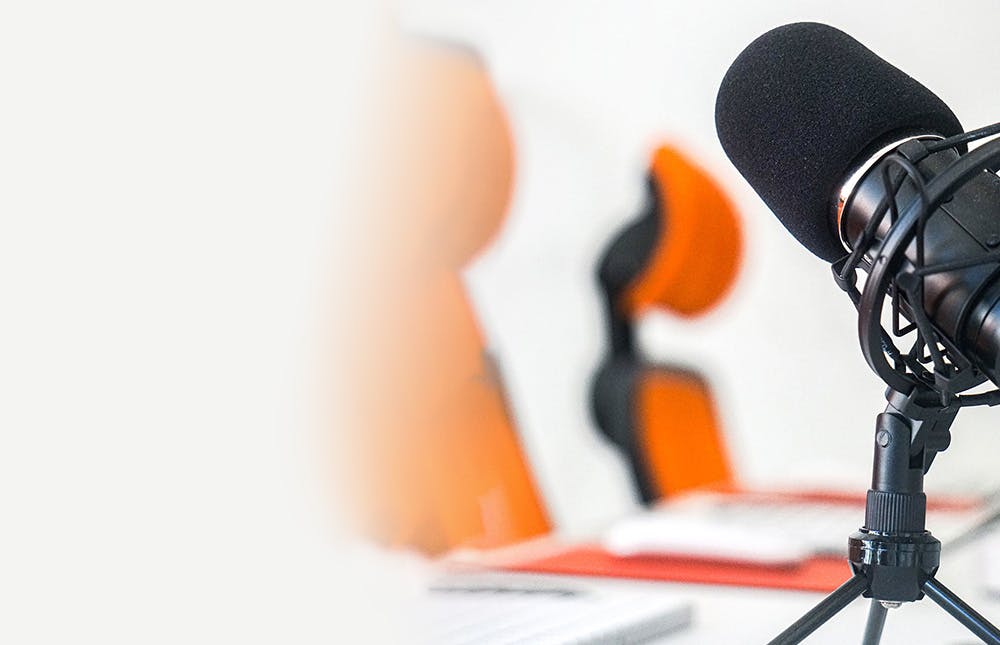
These types of microphones are made specifically for speaking purposes. Being conventionally the biggest type of microphone, they contain a large transducer, which results in a warmer sounding input. Legendary broadcasting microphones, like the Shure SM7b or Electro-Voice RE20 will blow the socks off anyone dialling into your weekly update meeting.
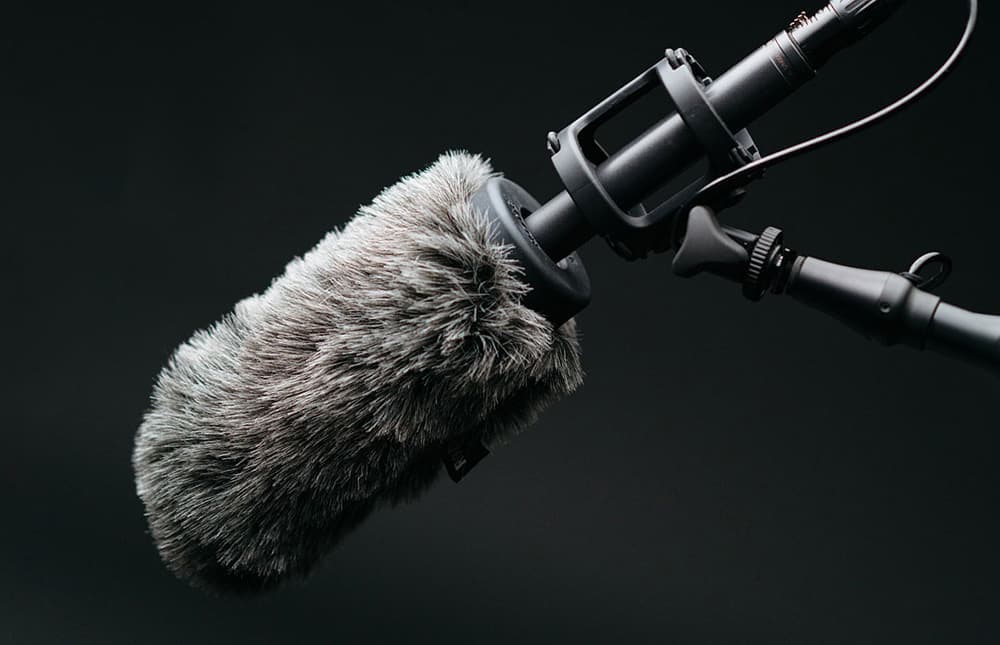
Hyper-cardioid microphone
Like the word says, a video call, consists of both audio and video. With the previously highlighted types, the microphone will most likely be visible in the recorded footage, as they are ideally positioned close to the mouth. A hyper-cardioid microphone is a type of microphone that is primarily used to capture audio on movie sets and television studios. The highly directional pick-up pattern of a hyper-cardioid microphone has the benefit of cancelling out a sound that is not directly pointed towards the middle of the front of the microphone. This allows it to be positioned further away from the source and therefore out of frame. I would suggest taking a look at the RØDE NTG5.
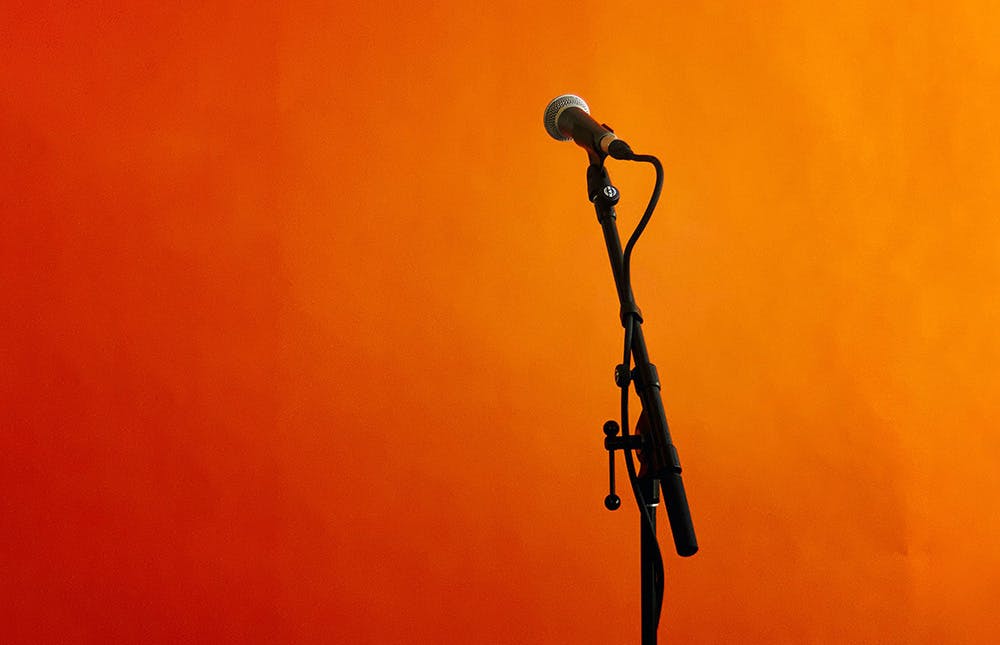
Stand
When using a separate microphone, you probably don’t want to hold it in your hand all the time. (Unless you want to look like a stand-up comedian.) Placing the microphone on a stand will free your hands, reduce motion noise when handling the microphone and allows you to reinforce your video footage with body language.
Classic stand
A classic microphone stand will easily perform the task at hand but is a bit clumsy and is not suitable for all scenarios.
Broadcast stand
The stand complements the broadcast microphone. Just like a swing arm desk lamp stand, it very easily allows you to (re)-position the microphone close to your mouth.
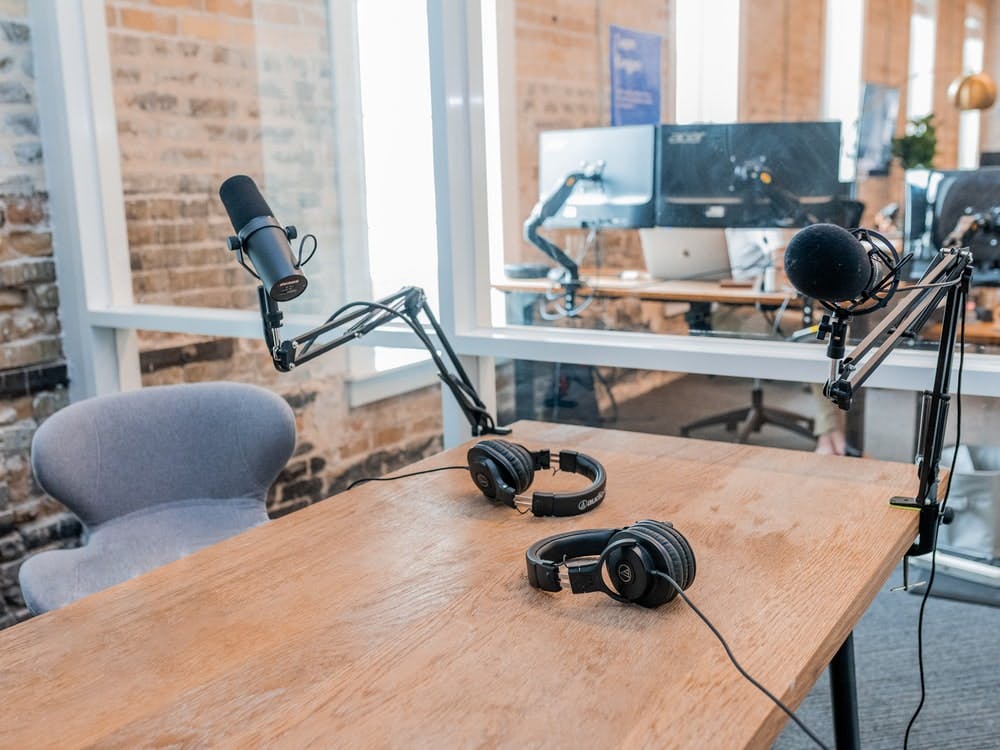
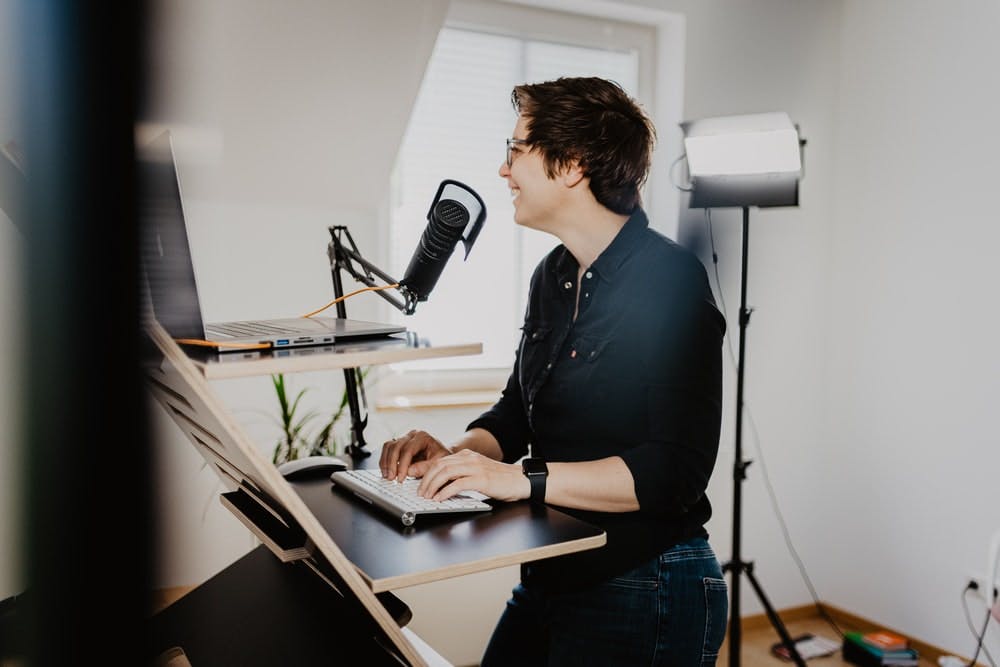
Table stand
Classic and broadcast stands are quite big and take up some space and will quite often show up in the frame. A minimalistic solution is a table stand. With this stand, your microphone ideally sits between your screen and keyboard. A little further from your mouth compared to the types described above. This type of stand is more prone to noise caused by vibration on the table or the typing on your keyboard right near it.
Audio interface
Now that we’ve sorted out a top-notch microphone, we need to convert the signal from the microphone to something our digital device understands. An audio interface, preferably with an XLR input and microphone preamp, will amplify the low electrical current outputted by the microphone and convert it to a digital signal that our device can process. As the popularity of home music studios and podcasting rose over the past decade, prices of good quality interfaces have lowered. Budget-friendly options like the Focusrite Scarlett Solo or Motu M2 will take you far along.
Audio processing
If you’re like me, you want to go the extra mile. Put that cherry on top of the whipped cream on the frosting over the seven-layer cake. Before sending your voice into your video call software, there’s the option of pre-processing your incoming audio. There are a ton of options, ranging from a noise gate to block out any unwanted sound over an equalizer to temper your low vocal range to a compressor that evens out your speaking volume. This can be done by placing a hardware solution, like the DBX 286S, in between your microphone and audio interface, or by re-routing the incoming audio on your device with a software solution like Toontrack’s EZMix.
Video
Thanks to the rise of e-sports streaming on platforms such as Twitch and Mixer, solutions for a home live-streaming setup became more market-relevant. The massive migration from working in an office to at home lead these solutions to be viable for the enterprise industry.
Set the scene
Choose a location where you can place your device in a position where you, the subject, are clearly visible. Tidy up, and notify your housemates that you will be calling. Try to leave out as many moving items as possible as these will distract your audience.
Lights
Make sure you’re calling from a well-lit location, preferably with soft light. For example, a room where the incoming sunlight is bounced off your walls, ceiling or furniture or if the sun’s tucked away or at night, a room with enough lights on. Avoid harsh lights with big contrasts, like partially standing in the direct sunlight. Only high-end cameras are capable of handling such large contrasts. You can further enhance or set a certain tone to your look with extra lighting, for example, an LED light panel, like the Elgato Key Light, to place in front of you to even out the light on your face. The possibilities are bound to your own creativity.
Camera
Webcam
The webcams on most types of computers aren’t synonymous with good quality. Because video calling didn’t have a great demand before 2020, webcams were often given the lowest priority by manufacturers. There are external webcam solutions available like the immensely popular Brio 4K Ultra HD or C922 Pro Stream Webcam, both by Logitech.
Digital photo/video camera
If you really want to ante up your production game, invest in a good camera, preferably with an interchangeable lens. A lens with a wide aperture will create a low depth of field and will blur out the background, instantly giving your image a cinematic feel.

Nowadays, cameras used for photography, like DSLRs and mirrorless cameras, are capable of recording HD resolution video. If equipped with a USB or HDMI port, the video signal can be sent directly to your computer. Budget cameras from both Canon and Sony are good starting points from where to look at.
Computer hardware
The image captured by the camera now needs to be sent to your computer.
USB
Camera manufacturers are rapidly releasing firmware updates and desktop software to enable video capturing from existing cameras, and to prompt the camera as a webcam option in your favourite video call application, just by simply connecting it via USB.
HDMI
To capture raw quality, most cameras are equipped with an HDMI (or HDMI-mini) port out of which the uncompressed image is streamed. Solutions like the Elgato Camlink 4K can take this high-quality video and push it to the video call software of choice.
Software
Running your footage through streaming software like OBS Studio will give you extra possibilities to enrich your video. Overlays, a scrolling bar with breaking news at the bottom or place your face in a bubble on top of the slide deck you will be presenting. You are only limited to your imagination.
Conclusion
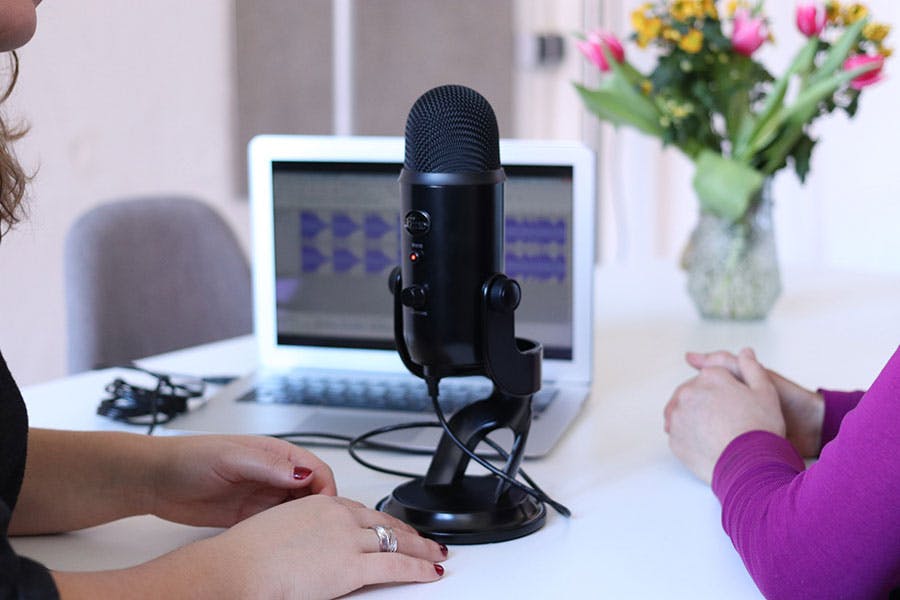
As you might have noticed, the sky is the limit and as with all other things, some experience in the field of audio or video is required to assemble your ideal setup. Manufacturers have seen the rise of podcasting, streaming and now remote employees that want to level up their audio game. To accommodate users that want to get up and running as quickly as possible, many offer pre-made podcasting kits with USB-connected-microphones, like the Blue Yeti Nano, RØDE NT-USB Mini, Beyerdynamic Fox that offer a plug ‘n play solution combining all the options I’ve described above into a simple, budget and user-friendly solution.
As they say, the proof of the pudding is in the eating. You can see the result of most of what I described in action, in a live-streamed talk I gave, titled Front-end ❤️ OpenAPI.